Installing a plantation shutter is a mounting job, not a woodworking job. The shutter arrives factory-built — panel on its white hinges, recessed magnets fitted, 3-inch flat Z-frame ready to set. Your work is: get the frame level and square in the opening, hang the panel, check the close. Here's everything that goes in the toolbox and exactly what to do with it.
The toolbox: what you need and why
- Drill/driver with a fresh battery — driving screws and pilot holes; a second battery saves a mid-job charge break
- Level — a 2-foot level for the frame, or a torpedo level in tight spots; this is the tool the whole job depends on
- Steel tape measure — for confirming the opening before you drill, not for re-measuring the shutter
- Pencil — mark screw positions through the frame; pencil wipes off the Snow White finish, pen doesn't
- Shims (a small pack of wood or composite) — for openings that aren't perfectly square, which is most of them
- Step stool or stable ladder — for high windows; never stand on a chair
- Safety glasses — drilling overhead throws dust straight down at your face
- Painter's tape — over your drill marks on tile or delicate trim so the bit doesn't skate
That's the whole list. No miter saw, no router, no caulk gun for a standard install. If you're missing one item, buy the level first — a cheap level is the difference between a shutter that closes with a satisfying magnetic click and one that doesn't.
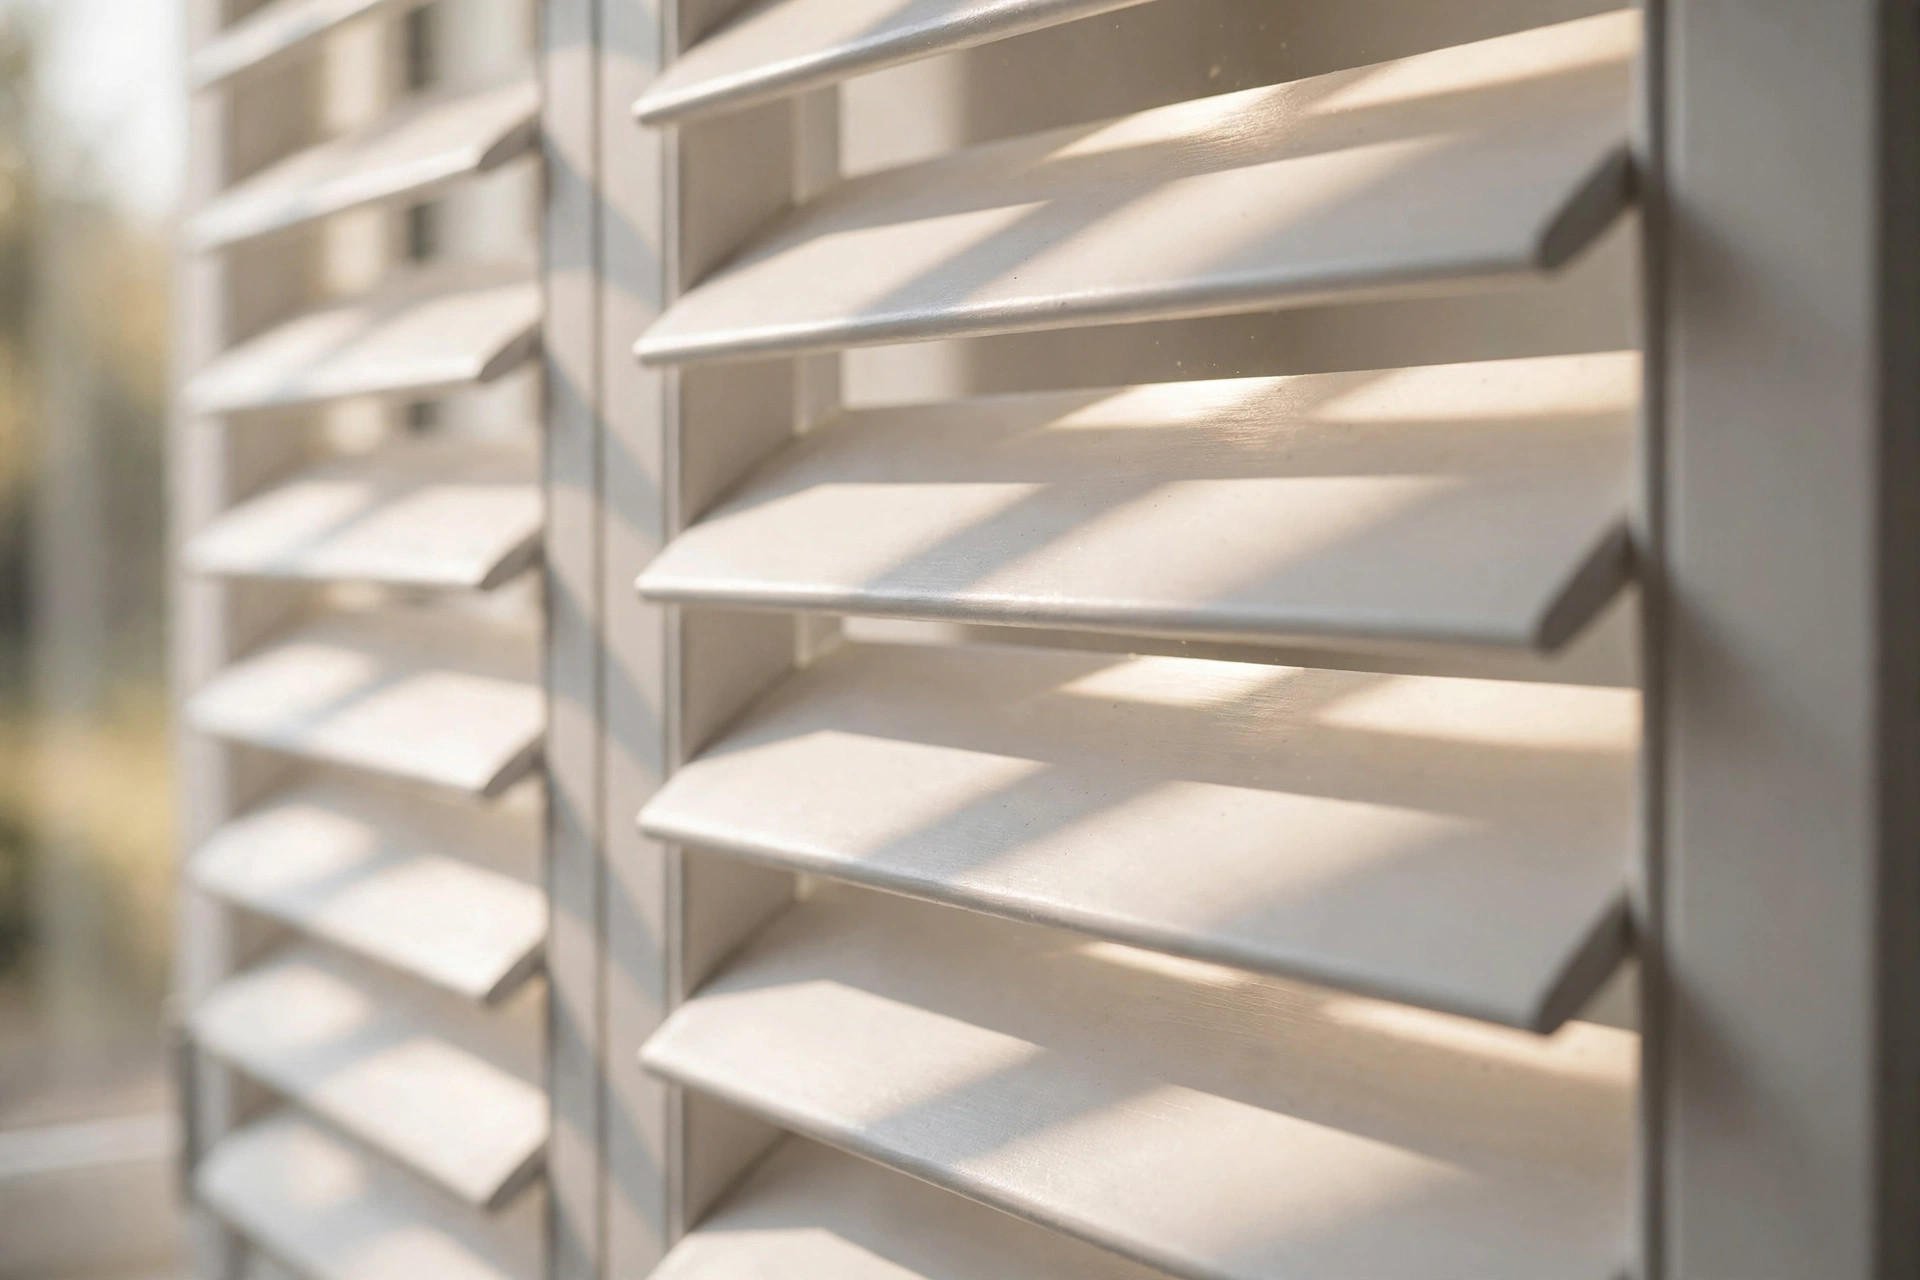
What you're installing: factory-built panels with 3.5-inch louvers, hidden gear tilt, and a 2-inch flat stile — hardware fitted at the factory, not by you.
Before you drill: the 5-minute pre-flight
- Open the box and confirm the panel and Z-frame match the window — check the RS size on the label against your order list
- Re-check the opening: width at three spots, depth of at least 1-3/4 inches for the inside mount
- Clear the work area — move furniture back, lay a drop cloth or old sheet under the window
- Close the louvers before handling the panel — a closed panel is rigid; open louvers flex and snag
- Find your studs or know your wall type — the frame screws need solid purchase, especially on wide panels
The install, step by step
1. Set the Z-frame in the opening. Offer the 3-inch flat Z-frame into the window opening. Don't force it — it should sit in with a small, even reveal all around. If it binds on one side, that side of the opening is tight; note it for shimming.
2. Level and shim. Check level across the top and down both sides. Slide shims behind the frame wherever it gaps from the opening until the frame reads level and plumb on all four sides. This is the step that determines everything downstream — a frame that's true here gives you a panel that closes cleanly.
3. Fasten the frame. Mark your screw positions through the frame, drill pilots, and drive the screws — snug, not crushed. Check level again after the first two screws; frames can walk as they're fastened. Trim or score off any protruding shim ends.
4. Hang the panel. Lift the panel to the factory-fitted white hinges and seat it. Open and close it slowly the first time, watching the recessed magnets meet their catches. The close should feel positive — a clean magnetic pull, not a scrape.
5. Test everything. Tilt the louvers through their full range with the hidden gear tilt. Check the 50/50 split control — top and bottom halves moving independently. Open and close the panel a dozen times. If anything rubs, see the fixes below before you call it done.
The three problems every first-timer hits
Problem 1: the panel rubs on one side. The frame isn't square — it walked during fastening. Back the screws off a quarter turn on the tight side, re-shim, re-check level, re-tighten. Ninety percent of rubs are fixed here.
Problem 2: the magnets don't catch. Either the frame is slightly out of plumb (same fix as above) or the panel needs a millimeter of lateral nudge on its hinges. Small adjustments, test after each one — don't re-drill anything until you've tried the gentle fixes.
Problem 3: a louver section feels stiff. The hidden gear tilt is a mechanical linkage — new units can be snug. Work the tilt through its full range a dozen times; it loosens with use. If a section genuinely binds after that, note which one and reach out to us by email before forcing it.
Solo or two-person?
Most sizes are a comfortable solo job — boxes run 14 to 45 lbs. Call in a second pair of hands for the three largest sizes (panel boxes 50 to 63 lbs), for any window where you'll hold a panel overhead from a ladder, and frankly for your very first window: an extra set of eyes on the level while you shim is worth the pizza. Delivery details · When to hand it to a handyman
Install questions, answered
The short list: a drill/driver, a level (torpedo or 2-foot), a steel tape measure, a pencil, a step stool for high windows, and safety glasses. Shims handle out-of-square openings. That's genuinely it for most windows — no specialty tools, no router, no second mortgage at the tool store.
Shutters ordered? The drill is waiting.
Factory-built panels, fitted hardware, a level and a drill — that's the whole job. Order from $18.95/sq. ft. with flat $200 local delivery, and most shutters are delivered in as little as 48 hours.